Friday, December 6, 2013

How to Cut Tokyo Love Soap Without Crumbling

Or any kind of soap for that matter...


So you ask why do you cut soaps? 

Simply because it will last longer!!! ♥


Ever since I've heard of this I never went back to using whole soaps. Who wouldn't want their stuff to last longer? Not only can you easily hold the soap without slipping, you also save money this way.

I jumped in to the hype of this soap that is said to have amazing benefits aside from whitening in just one wash! If you're an online junkie and shopper, you probably heard of the popular Tokyo Love Soap.

Please wait for my review on this soap. For now I will share with you how I cut Tokyo Love Soap without it crumbling.

Now if you know about this soap then you should know that this is PRICEY for a soap therefore, cutting it to make it last longer is a must!

I've read online that this usually lasts a month to 1 1/2 month. We can stretch that time period by cutting it.

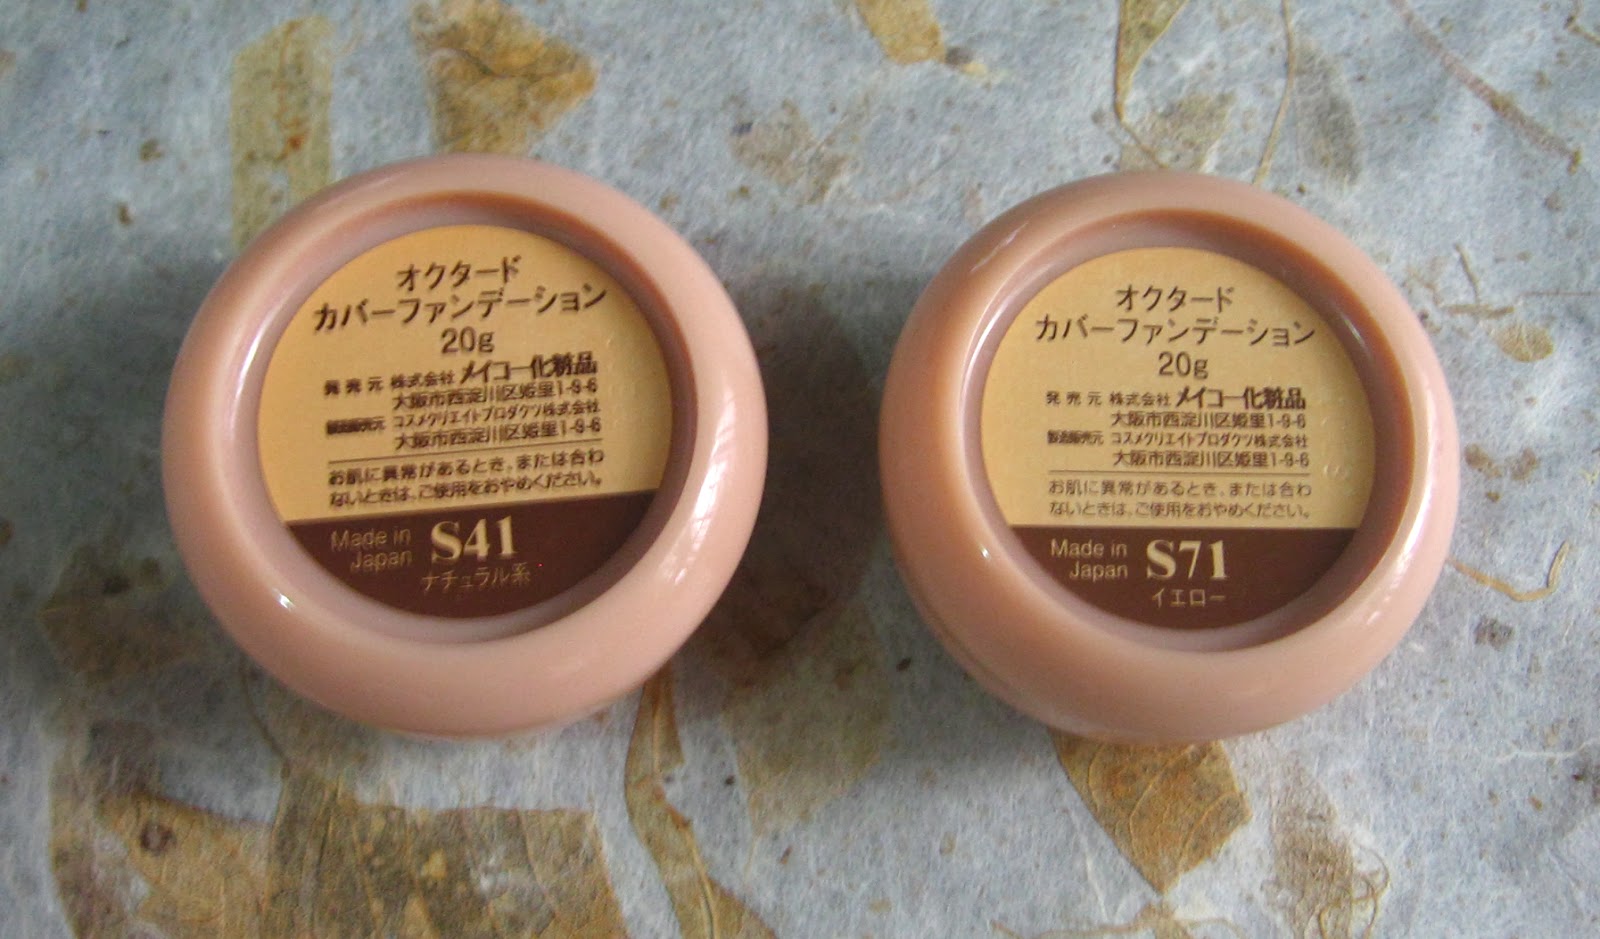
I have four Tokyo Love Soaps: 1 Original, 2 Professional and 1 Premium


I tried the original first and my first cutting was fine and I just used our kitchen knife that I always use for cutting soaps. 


I just cut a 1/4 slice on the side. It lasted for 3 weeks or more.


 and then I needed to cut again but....


It crumbled! 
This has never happened to me before! 
And so I just patched these pieces together with drops of water and pressing them.

As you can see I still have more than half of the soap left after cutting.


I just forced finished the patched up bar today and before that happened I thought about a way to cut this soap nicely and perfectly without crumbling like that.

And that is by using a simple cutter. Also some sunflower oil (or any oil you have) and cotton.


So I'll be cutting this Professional variant which sadly, got attacked by ants before getting to me...


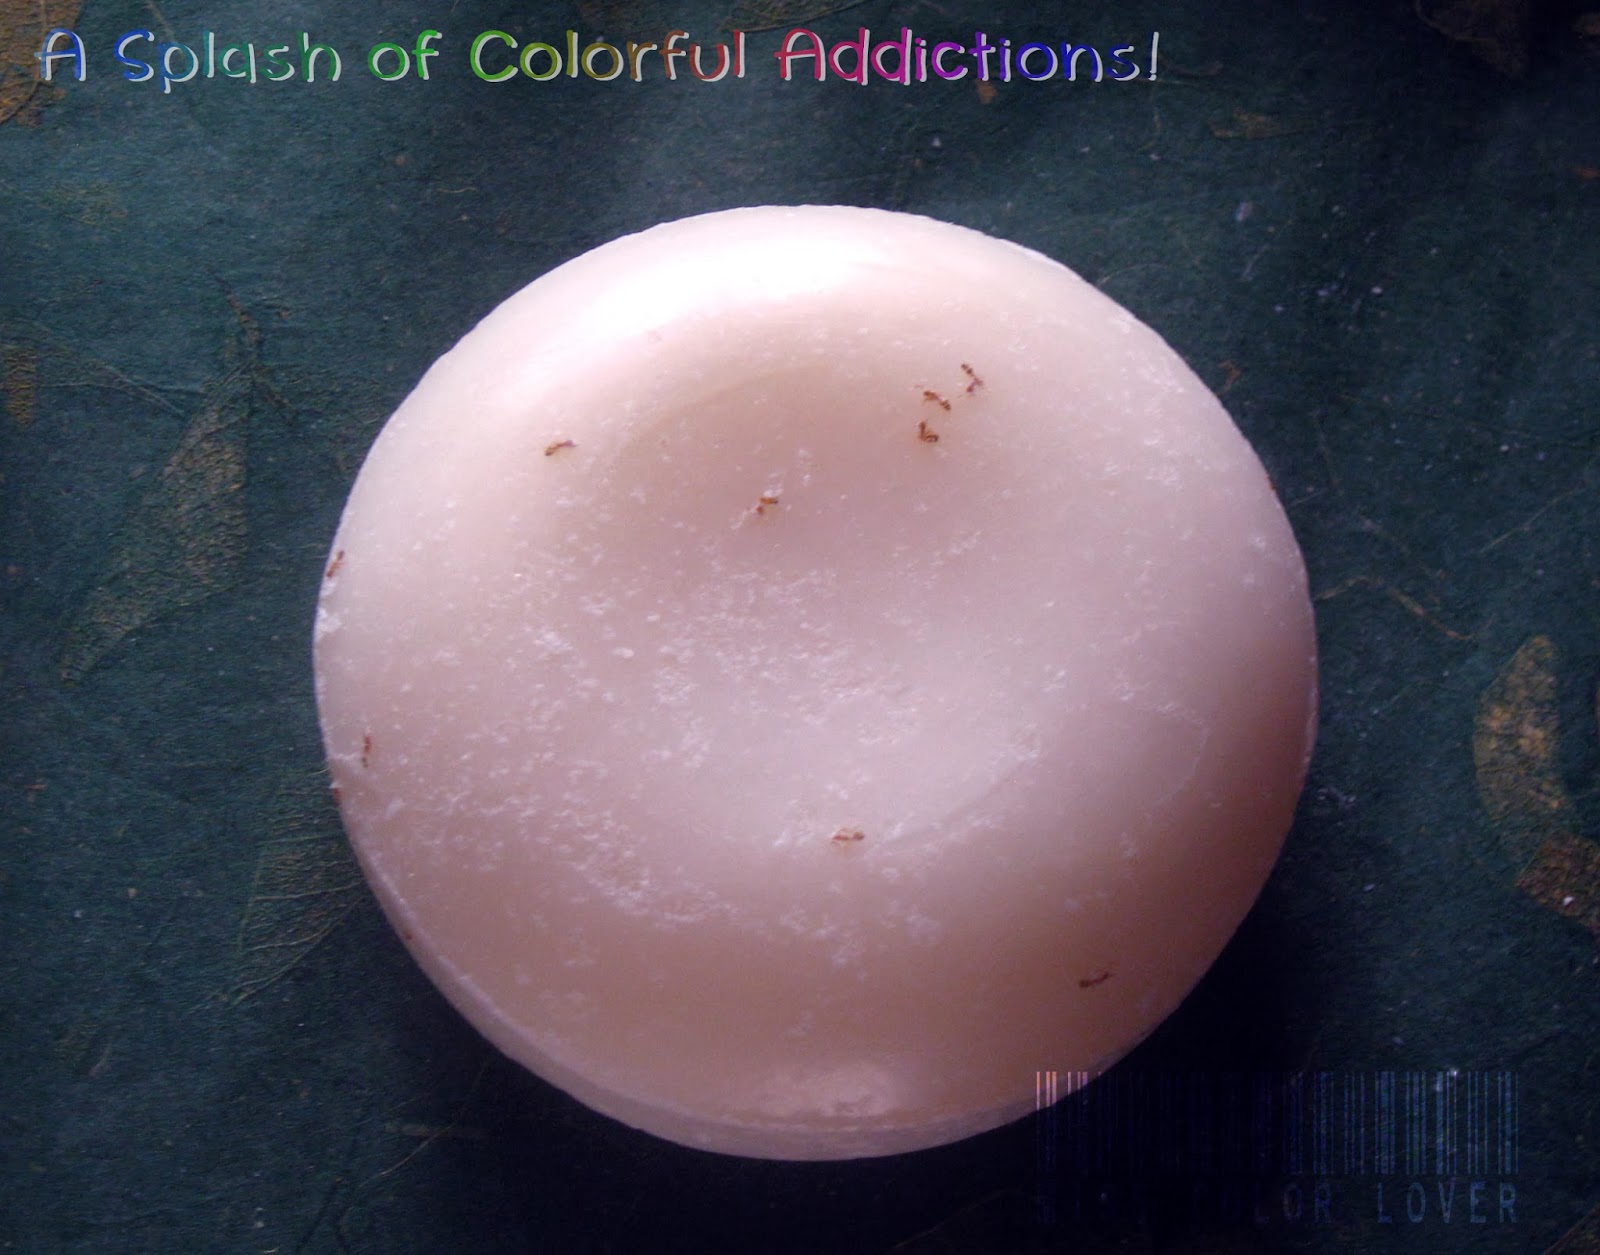
The problem was in the plastic of the packaging.

Why do they have 4 holes in them?!!! Arg!!


Oh well, atleast they didn't devour the whole thing...

Anyways going back to the cutting...


♥ Coat the blade thoroughly with oil using cotton.


                     ♥ Start sliding the blade in a straight line using a bit of pressure until you hit the bottom.


♥ Clean and coat the blade again before cutting the half into a quarter.


♥ At this point, I was able to slide the blade downward very easily


♥ Almost perfect except a thin part on the bottom. 


♥ That's the result of cutting too quickly. :p

Use less pressure and just slide the blade as you approach the bottom part. 


♥ You can cut it even smaller but I'm happy with the size since I'll use it for my whole body and not just the face.

♥ Get a  piece and place it in your soap dish.

♥ Don't leave it in the shower as it will just melt.

♥ Don't wet it too much and use just the right amount.

♥ See how longer your soap will last.


Sunday, December 1, 2013

Meiko Octard Cover Face Mini Review + Updated Cover Face Swatches!

Click here to know more about Naturactor and MC Collection.


This is only a mini review as I just have a limited experience of the product. 

I borrowed my cousin's Octard for this purpose. She also got it from the Meiko store in Kofu Japan.


I've initially read that it's good for oily skin but please read on to know how my oily skin faired.
Packaging is peachy and girly and when my mom first saw it she said it reminded her of Chin Chun Su or Mena whitening face creams.

Texture is so different from Naturactor and MC Collection. This one is sooo light and slightly Mousy. It is Matte too! I like the feel and finish actually. Even the pot of Octard is lighter than Naturactor though they are both 20g.


It's so smooth and blendable and I found out that it sets when I swatched it on my arm. It was hard to blend out when it has already set and almost didn't budge so I immediately fell in love and thought " this is great for my oily skin!! And will probably last longer! Not to mention that it matte! ♥".


I got even more excited as I've always preferred yellow for my undereye and I didn't feel that the green concealer was doing anything! 


1st Try:  So I tried the yellow and I was wowed as it really brightened my face. The redness and darkness was greatly decreased. It was awesome for my undereye area! I really just used a bit of the product. If you dab at it on the pot lightly, you really get a lot of product already and you could just tap it out on areas that you'sre applying it to. You can also use a thin layer of it on your whole face just to brighten it and just apply a bit more as needed on areas that you are correcting.The only thing is that I think it's not creamy enough for the eye area.
So I went on and tried out the S41 over the yellow as that was what the SA of Meiko did to my cousin when they asked how to use it. I just applied it as thin as I can. Sooo yeahh, S41 is too light for me but WOW! I LOVE the finish!!! I love how matte it is! It's that natural matte look. 

I didn't put any primer and powder over it and after just a few hours, I was an oily shiny mess. And when I touch my nose, the product comes off. Probably my fault too because I double moisturized that time. 

2nd Try: Tried it out again on half of my face the next day. I used primer this time and setting powder. I also used a bit more amount to cover my blemishes. On the other half, I used Naturactor 151 which is more my shade. Surprise! the Octard looked nice even if you apply it a bit thick! It covered come shallow icepick scars nicely.
They both lasted this time! Octard really stayed matte, covered nicer and looked better in pictures too! That's my opinion and experience though.


Random Shiz: I learned from a friend from a forum that Filipino Celebrity Make-up Artist, Bambbi Fuentes use this on her clients.   


Another thing I loved is their shades. Having able to try S41, I have an idea on their color equivalents on Naturactor and MC. Check out the photo below:

This is just an idea okay?


Again, this is just my theory though. I like how they have darker shades as they really come off ghostly when you think you're using the 'right shade'. I personally pick shades that look darker for me because those turn out to be just right. I like 152 in MC collection better because I don't look like I have any makeup on and I have even skintone. I use my arm as my basis for this btw. 

I want to look as natural as I can and for me, the purpose of using foundation and concealer is not to draw attention on your blemishes and zits. You do the opposite when you use a lighter shade on your face. Plus it's a dead giveaway that you have makeup on or you have a lighter face than the rest of your body. Both are not flattering IMO.  ♥


Meiko Cover Face: Naturactor, Octard and MC Collection


 You know the drill... Click to enlage and open in new tab for a larger image. ♥


♥♥♥

What are the Yellow and Green Concealer Correctors used for?


What are these things used for EXACTLY anyway?

I've been asking that question to myself lately as I have been questioning if the green one was worth buying.


Basically, these are corrector concealers. You use these before you use your regular concealer and/or foundation. They say these are for redness and other discolorations. But what discolorations are supposed to be used for exactly?

Good thing there's this nifty function in photoshop where you can invert the color to see it's exact opposite.  


Lo' and behold the true shades that they are meant to cancel out:


 Inverted shades


Looks like Yellow cancels the Bluer purple hues and green cancels out the reddish purple hues. G

This means Yellow can brighten the skin with less power over redness. It will just remove the dark bluish hues from your complexion. Good for freckles and blemishes. This will also do great for the undereye as it will remove darkness and will not add blue that can darken it more.

And the Green will be better at removing the pulplish shades. Good for reddish discolorations such as pimples and red blemishes as well as reddish bruises.

So how does it look when canceled?


50% opacity of the Inverted color over the original image:


30% opacity of the Inverted color over the original image:


70%opacity of the Inverted color over the original image:


Ofcourse, this varies too as your skintone will also be a factor. You'd probably get something near white when done correctly. That's when you'll cover it with your skintone's shade of the cover face you have. Others like to set it with powder first. 

Goodluck!!! ♥